I grew up with cheap, good ice cream in Minnesota. Buckets of ice cream. Literally. The one gallon, plastic buckets made by Kemps, that were emptied within a day of reaching my house from the grocery store, and subsequently transferred to the sandbox, or to the garage to store nails & screws.
There isn’t a garage in Minnesota that doesn’t have a Kemps ice cream bucket carrying out an essential task.
When I moved to blistering hot Southeast Asia, ice cream wasn’t just dessert, it was medicine. Air conditioning could only do so much.
Luckily, ice cream filled the frozen section of the grocery stores in Penang. And it was affordable, unlike other dairy products like milk and cheese that were priced as items of luxury. I tried a few brands. A bit too sweet, but still creamy.
And then the shocker…the ice cream contained little or no milk at all!
Milk is replaced by Malaysia’s biggest export – palm oil. Food companies can process oil to taste like anything. Gross.
Can we still call it ice cream? Before I could answer no, I ran to the store and bought an ice cream machine. Just a simple Kenmore IM 200 that helped me put the cream back in my favorite dessert.
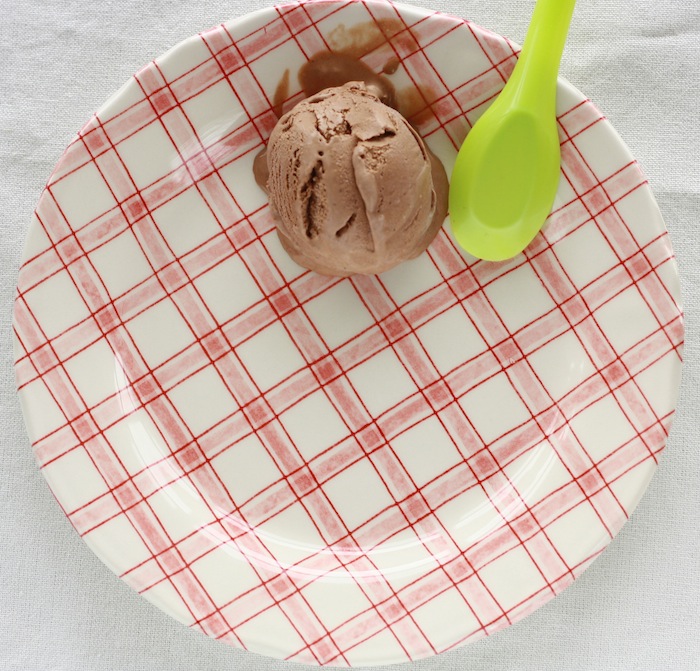
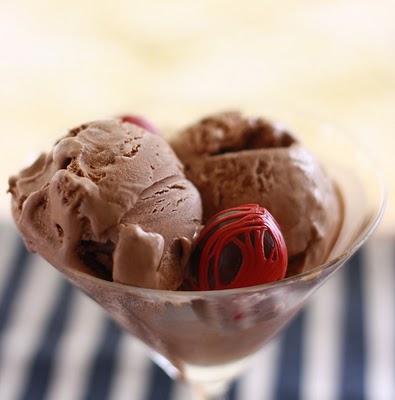
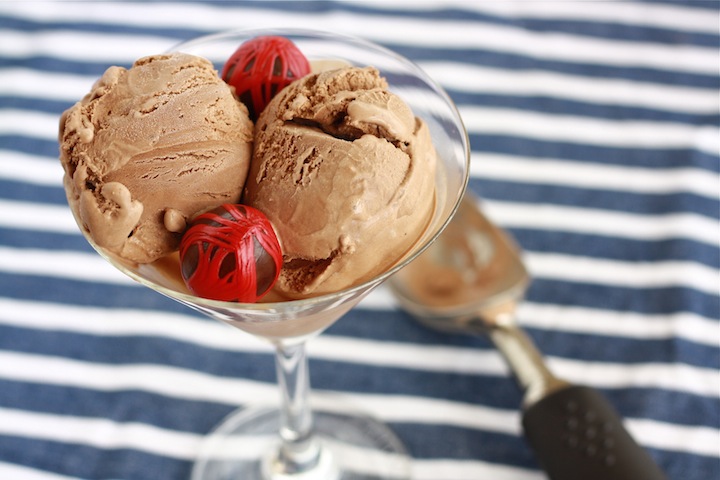
I now have many ice cream recipes to share with you. And the first one - Chocolate Nutmeg Ice Cream – is to make up for cheating on “Back of the Island” by using nutmeg fruit instead of the actual spice from the nutmeg seed.
I now have many ice cream recipes to share with you. And the first one - Chocolate Nutmeg Ice Cream – is to make up for cheating on “Back of the Island” by using nutmeg fruit instead of the actual spice from the nutmeg seed.
Chocolate Nutmeg Ice Cream by Season with Spice
Makes about a quart of ice cream
Ingredients:
1 1/2 cups of heavy whipping cream
3/4 cup of whole milk
1/4 cup of cocoa powder
1/3 cup of sugar (I use raw sugar, but brown is fine too)
2 egg yolks
1/2 teaspoon of nutmeg powder
1/4 teaspoon of vanilla extract
1/4 teaspoon of gelatin powder (or equivalent)
The process:
1. In a small pot, combine the cream, milk, cocoa and nutmeg. Using a heat resistant plastic spatula, stir frequently over medium-low heat until small bubbles appear along the edges (but don’t let it boil). Should be about 10 minutes. Then turn heat off and let sit for 5 minutes, stirring occasionally.
2. In a bowl, whisk together sugar, egg yolks, and gelatin. Add a quarter of the mixture from the pot into the bowl, while constantly whisking (to prevent the eggs from cooking). Then repeat with another quarter of the mix. Finally, pour everything in the bowl back into the pot, while stirring with the plastic spatula.
3. Return the pot to the stove and heat on medium-low, stirring constantly to prevent the mixture from sticking to the bottom of the pot. Without allowing it to boil, heat until the mixture thickens enough to coat the back of a spoon (or if you have a cooking thermometer - when it reaches 160F to pasteurize the eggs). Should take about 10 minutes. Turn heat off and let sit for 5 minutes, stirring frequently.
4. Layer one large bowl with ice cubes, and set a small metal bowl inside. Pour mixture through a strainer into the metal bowl.
5. Add in vanilla extract, and stir mixture occasionally to help cool faster. Once cool (should take about 15 minutes), transfer mixture into a plastic airtight container and place in refrigerator overnight.
6. On the following day, pour mixture into ice cream machine and churn until it thickens.
7. You may lose control and eat all the smooth ice cream right after churning, but if not, transfer the rest into a plastic container, lay plastic wrap directly on top of ice cream and press down gently (to prevent ice crystals from forming on top of the ice cream), and seal with airtight cover. Set freezer temperature to the coldest setting, so the ice cream freezes faster.


